How to Make Patterns from Your Own Clothes
Have you ever loved a piece of clothing so much that you wished you could replicate it? The good news is that creating patterns from your own clothes is not just a possibility; it’s an exciting way to expand your sewing repertoire. By learning how to craft patterns from pieces you already own, you’re one step closer to designing clothes with your personal touch. In this comprehensive article, we’ll delve into the process of pattern making, ensuring that you can not only replicate your beloved clothes but also infuse them with new life and style. Whether you are a seasoned sewer or just wanted to get started with patterning, this guide will provide valuable insights into making flat patterns using clothes you love as templates.
Understanding the Basics of Pattern Making
Every successful journey into pattern making begins with a solid foundation in understanding the basics. A pattern is essentially the template from which you cut out your fabric. It is as crucial to sewing as blueprints are to architecture. To get started, you will need to familiarize yourself with key terms like ‘grain line’, ‘seam allowance’, and ‘darts’. These terms might seem daunting at first, but as you delve into the world of creating your own clothing patterns, they will become second nature. Besides terminology, having the right tools on hand is fundamental. Ensure you have items such as measuring tapes, tracing paper, and pencils to draw your patterns accurately.
Preparing Your Workspace and Materials
Choosing the Right Environment
Before you begin patterning, you should prepare a suitable workspace. You need a large, flat surface where you can lay out your garments and trace patterns without interruption. The space should also be well-lit so you can see each detail as you work. Good lighting is crucial for accuracy in pattern making.
In addition to tracing paper, you’ll require a few other key tools and materials to successfully create patterns from your own clothes. These include fabric scissors, pattern weights or pins, a ruler, a French curve for curved lines, and a notcher for marking. Organize these materials within easy reach to streamline your pattern-making process.
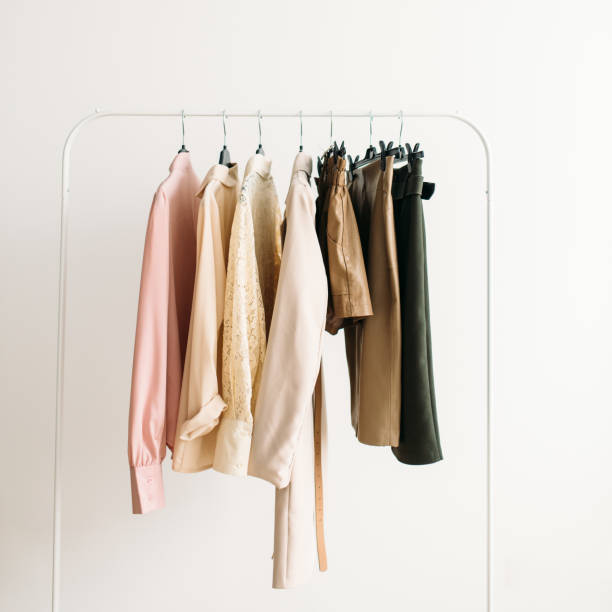
Selecting a Garment to Pattern
The best garments to start with are those that fit you well and have simpler designs. Avoid clothes with plenty of intricate detail or draping as these can be more challenging to replicate. When you’ve got some experience under your belt, and you’re willing to learn more complex skills, you could take on more advanced pieces. Remember, your goal is to create a flat pattern that can be used multiple times, so choose your garments wisely.
Deconstructing Your Garment
It’s natural to have reservations about cutting into a beloved piece of clothing for the sake of making a pattern. Fortunately, there are non-destructive methods. You could carefully pin the garment onto tracing paper and work around it, ensuring its integrity. The key is to take your time and proceed with precision to capture each aspect of the garment’s design.
Tracing Techniques
Various tracing techniques can aid in transferring the contours of the piece onto paper without compromising the original garment. One such method involves placing tracing paper over your garment and gently using a tracing wheel to outline the patterns. This approach is perfect for those who might not have the confidence or desire to deconstruct their clothing directly.
Transferring the Pattern to Paper
Drawing the Pattern
Taking the traced outlines, use a clear ruler and pattern-making curve to clean up any rough edges on your patterns. Be as precise as possible during this step; the accuracy of your pattern depends on it. Ensuring that every curve and straight line is drawn correctly will lead to a better fit once the garment is sewn.
Adding Seam Allowances and Markings
Seam allowances are crucial for proper construction. Standard seam allowances are usually 5/8 inch, but this might vary depending on your sewing habits or the particular garment’s needs. Notches and other pattern markings must also be included to guide the sewing process. Here is a simple table to reference common seam allowances:
| Garment Part | Seam Allowance |
|---|---|
| Necklines | 1/4 inch |
| Sleeves | 1/2 inch |
| Side Seams | 5/8 inch |
| Hems | 1 inch or more |
Refining Your Pattern
Once your basic pattern is on paper, take another look to ensure all pieces fit together accurately. Make any necessary adjustments and consider the type of fabric you’ll be using. Different fabrics react differently, so making sure your pattern suits the material is as important as the pattern itself. Sometimes, you might need to add darts or pleats to the pattern to achieve a certain fit or design.
Testing Your Pattern
Muslins are test garments sewn from inexpensive fabric to trial the fit and style of your pattern. Treat muslin-making as a critical step in the pattern-making process. It allows you to make mistakes and learn from them without ruining your final fabric. Adjust the pattern as necessary and keep refining until your muslin fits just right.
Multiplying Your Wardrobe Choices
Mastering a single pattern can open the door to multiple variations. For example, a basic blouse pattern can be reimagined with different sleeve lengths, necklines, or hemlines. Here are some ideas to get you started on diversifying your patterns:
- Convert a short-sleeve blouse pattern into a long-sleeve design for cooler weather.
- Change the neckline of a dress from crewneck to V-neck for a different look.
Conclusion
Designing clothes using your own clothing as the source for patterns is a journey of both creativity and technical skill. You not only replicate your favorite pieces but also personalize them, making sure each garment truly represents your style. As you become more experienced, you’ll find that the pride of wearing your own creations is unparalleled. Practice and patience are key—remember, making your own patterns is a learning experience that gets easier and more enjoyable over time.
FAQs
Q: Do I need sewing experience to make my own patterns?
A: While having some sewing experience helps, it isn’t strictly necessary. What’s important is your willingness to learn and your attention to detail. With the right guidance, anyone who is interested could begin making their own patterns.
Q: What type of paper should I use for making patterns?
A: Pattern paper, tracing paper, or butcher paper are ideal choices for pattern making. They’re durable enough to be handled extensively and frequently possess enough transparency for easy tracing over existing garments.
Q: How can I ensure my pattern is symmetrical?
A: Folding your pattern in half down the center or using rulers and measuring tools to compare both sides can help ensure that they are identical. Symmetry in your pattern is crucial for even garments.
Q: What should I do if my muslin does not fit correctly?
A: Identify where the muslin is off—whether it’s too tight, too loose, or just not sitting right. Make adjustments to the muslin garment first, then once you are satisfied, reflect those alterations back onto your pattern.
Q: Can I use these patterns for different types of fabrics?
A: Absolutely. However, you should consider the characteristics of each fabric. Some might need adjustments to the pattern, such as allowances for stretch. It’s about adapting your pattern to work with the fabric’s behavior.